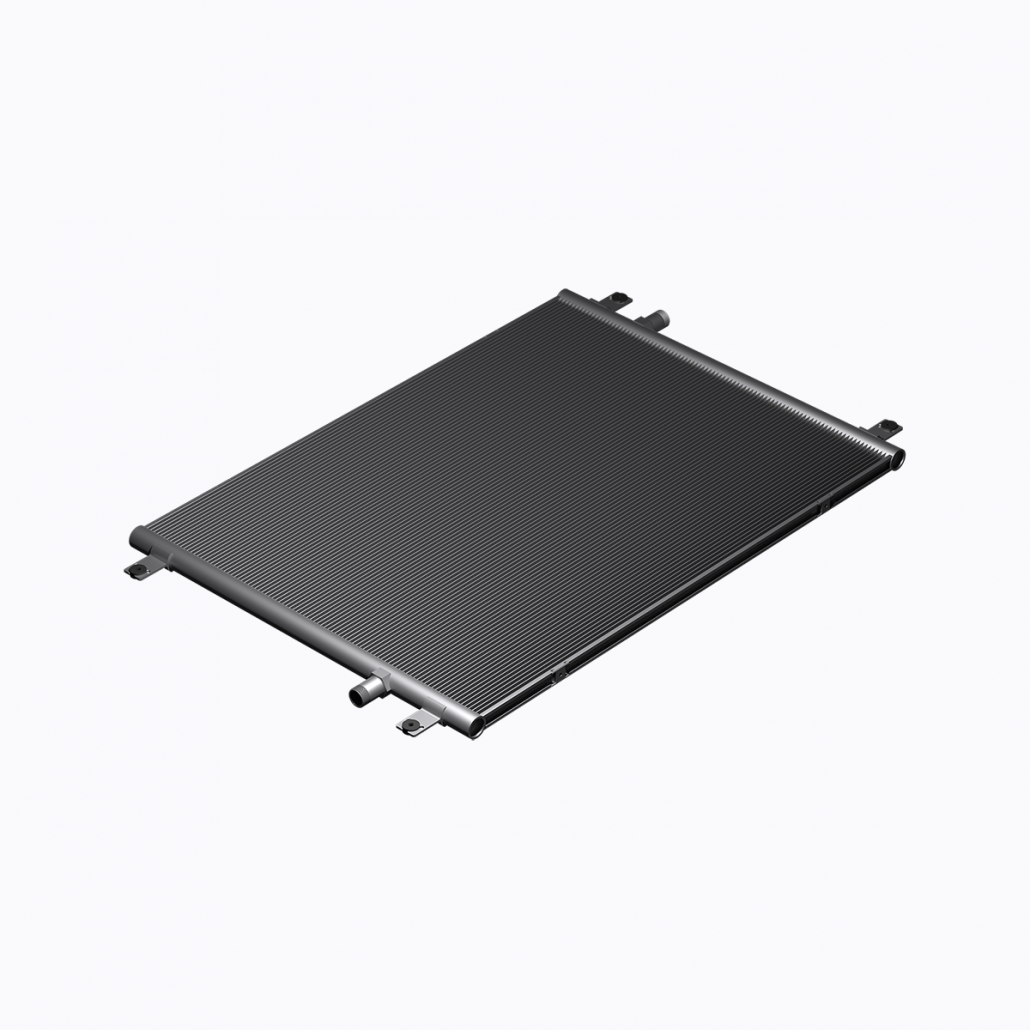
Charging microchannel coils
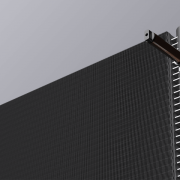
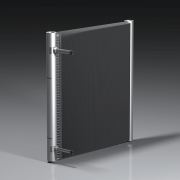
Microchannel coils are here to stay. Their use is rapidly spreading to a variety of HVAC applications. Microchannel heat exchangers are stronger, lighter, offer higher heat transfer compared to other types of air-to-refrigerant coils. They are smaller in size and also in internal volume, resulting in a refrigerant charge that is significantly reduced.
Microchannel coils are very charge-sensitive: performance and efficiency of HVAC units equipped with microchannel coils are very dependent upon having the correct amount of refrigerant in the system. Minor charging errors may cause improper equipment operation, loss of performance, fail to achieve rated efficiency, and other issues, as low refrigerant charge has a considerably larger effect on the coil operation. Accordingly, the ballpark charging method doesn’t work when it comes to microchannel coils. For instance, a 10kW air conditioning unit equipped with a microchannel condenser requires about 2.0kg charge amount, and excessive 0.2kg of refrigerant added to the circuit will lead to 10% overcharging.
This article proposes methods of correct charge of units with microchannel coils for proper system operation. While the charging procedure described below should be used for all coil technologies, it is particularly important for microchannel heat exchangers as they tend to be less tolerant of improper charge amounts due to the reduced charge volume.
Accuracy of Measurement Devices
Primarily, it is necessary to ensure your gauges, digital scales, and probes provide accurate readings under all working conditions, including rough ones, and you can weight in the charge correctly and verify the operating parameters of the system accurately. The following tools – properly maintained and calibrated – shall be used for the charging procedure:
- Vacuum pump capable of achieving <500-micron vacuum
- Micron gauge – capable of reading at least 500 microns
- Gauge manifold set for appropriate refrigerant
- Weight scale and tape measure
Determining Charge Volume
The refrigerant charge of the system includes refrigerant coexisting in single-phase and two-phase states in condensers and evaporators. Due to this, determining the refrigerant density is a complicated task and cannot be calculated directly in the two-phase region.
The superheating degree of the evaporator outlet and the subcooling degree of condenser outlet are the most important indicators to judge whether the refrigerant charge is appropriate in an HVAC system. For low refrigerant charge amounts, the relatively small subcooling and large superheating are unfavorable to the system’s performance. With the enlarged refrigerant charge, the subcooling increases, and the superheating decreases. The correct refrigerant charge is the range where subcooling and superheat values are relatively stable, and cooling capacity has reached its maximum, which means effective heat transfer area of the evaporator has been fully utilized, resulting in stable capacity and high COP values.
Charging Procedure
Verification of The System
The first step is to verify refrigeration circuit integrity by conducting a static test and confirm there are no leaking joints. Repair leaks as required. After verification, release nitrogen, if present.
Clean the condenser and evaporator coils as well as filters, if present. Check if the fans are capable of moving the correct amount of air.
Introduction of The Charge
Ensure the refrigerant cylinder contains sufficient refrigerant amount to complete the charge and connect the refrigerant cylinder to the circuit. Allow the vacuum to pull in refrigerant until the previously calculated amount is reached. Wait until the charge equalizes through the system: this may take about 10 minutes.
System Start-Up
Energize the system and let the unit stabilize for about 15 minutes.
Adjusting the Charge
Refer to the charging charts or calculations made prior to charging to determine proper subcooling. Add charge to increase liquid line subcooling or remove charge to decrease it. Add or remove only a small amount of refrigerant and wait at least 15 minutes between making further corrections, allowing the pressure in the system to stabilize before starting the next adjustment.
Continue to monitor the system until stabilized, usually about 15 minutes. Monitor both superheat and subcooling values when adding refrigerant to prevent overcharging.
The variability of subcooling with outdoor and indoor conditions has been generally ignored for the systems with large amounts of refrigerant. For low-charge units, a verification over a range of operating conditions shall be taken into account. The variability of subcooling is generally caused by the difference in outdoor temperatures: changing conditions from, for instance, 30°C to 35°C may cause variation in the subcooling of few degrees.
Charge Validation
Validate charge value is correct and the HVAC system is operating properly.
Refrigerant Evacuation
Use a vacuum pump to evacuate the refrigerant from the system. Pull a vacuum on the system until the micron gauge reads 500 microns or less, then close the vacuum pump valve and shut the pump off.
Improper evacuation leaves noncondensables mixed with the refrigerant, which may lead to the erroneous determination of saturation temperature, misdiagnosis of refrigerant charge, and resulting reduction in the system efficiency.